
Facially Driven, Single Opacity Composite Veneers
Tooth wear has become a common problem, and today it affects both young and old patients. Ceramic veneers have been the standard treatment for many years. However, patients today are looking for more conservative and more cost-effective ways to treat missing, diseased, and unsightly tooth structure. With sound scientific and clinical data, dentists turn to direct additive procedures using modern bonded resin composites with ideal optical and physical properties to replace porcelain as a more cost-effective solution. New nano-hybrid composites offer vastly improved flexural strength, wear-resistance and allow for simple surface characterization and polishing. There has been a shift from complex layering protocols in both direct and indirect restorations to now utilizing monolithic materials that have the perfect combination of both opacity and translucency to mimic natural teeth.
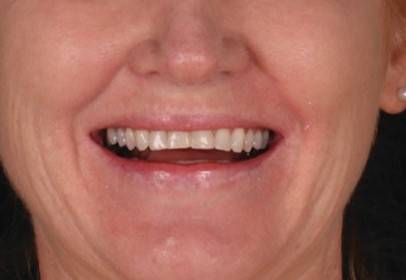
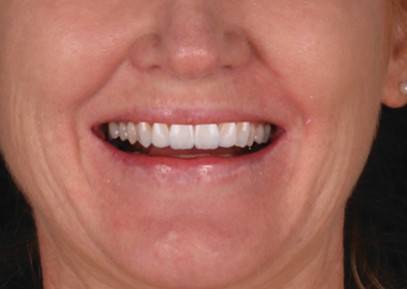
Before
After
Case Presentation
This patient’s main complaint was the deterioration of her smile, she was looking for cosmetic solutions. She was determined to preserve tooth structure, in her words “not to have her teeth ground down”! Tooth wear here was caused by attrition, the uneven loss was due to parafunction of her crowded teeth.
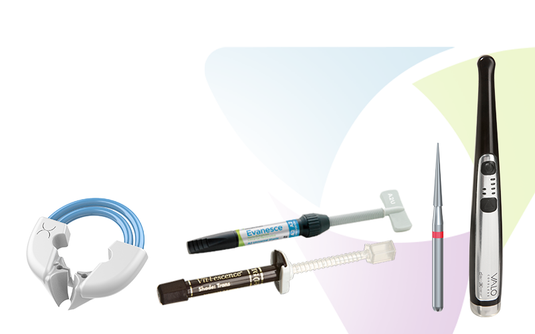
We adopted the Lite Dentistry protocols where the teeth were firstly aligned (clear aligners) to enhance the aesthetic outcome and improve function. Next, bleaching was performed, followed by the direct bonding using a single shade (monolithic) to simplify the outcome, using Evanesce Nano-Enhanced Universal Restorative Composite (Clinician’s Choice) focusing on the ideal natural tooth shape to achieve the most natural aesthetic result.

FIG. 1A
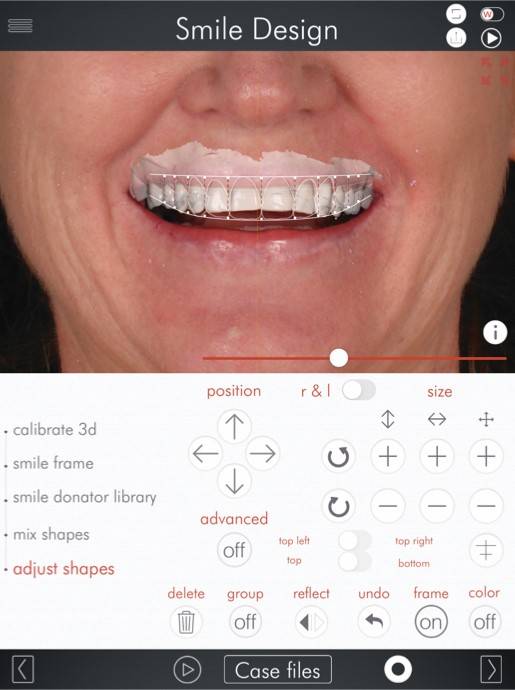
FIG. 1B
Using digital records, we will initially create a 2D plan that will determine the ideal position of the central incisor in relation to gingiva, lips, and face (Orofacial analysis). During the 2D design, we will also decide on the tooth shape utilizing libraries of natural teeth. The 2D design will finally determine the ideal smile frame into which the teeth will fit. This will show the new intended gingival margins as well as the correct smile curve. In this case, the 2D design was done using the DSDApp (this software being available on the iPad). (FIG 1A and 1B)
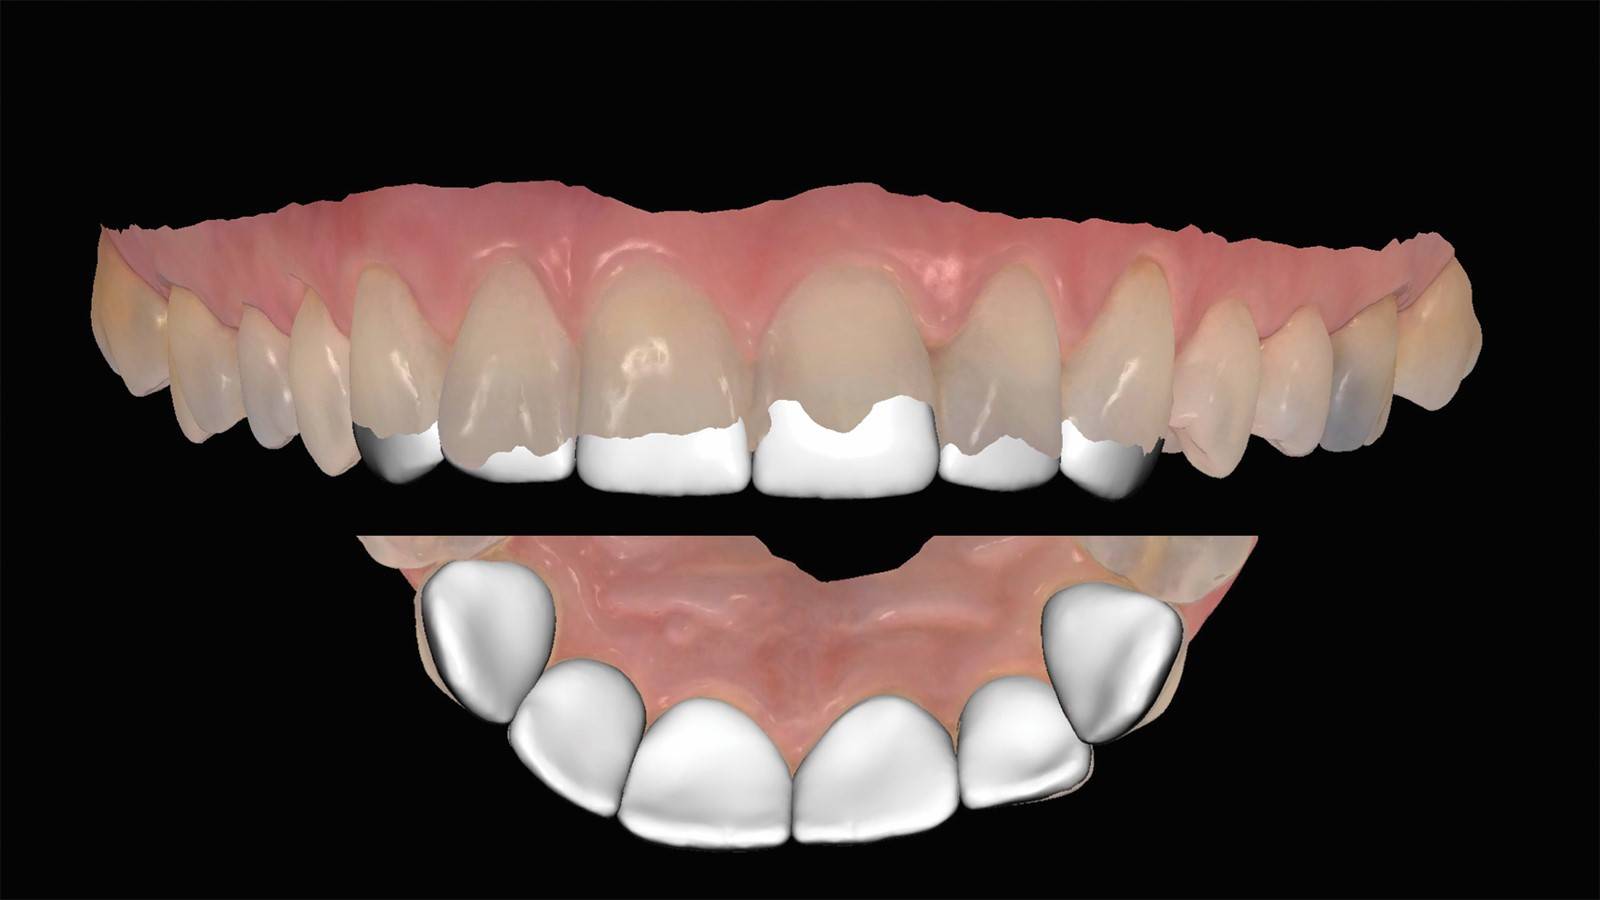
FIG. 2

FIG. 3
With the help of the 3D design, it was clear bonding would be required on the six upper anterior teeth. The dental laboratory sent through the ideal suggestion on Communicate (3Shape App) (FIG. 2), this was accepted, and the model was printed. This model was used to provide a palatal stent to control both the incisal length/shape and occlusion. (FIG. 3) It should be noted that a conventional wax up could be used to fabricate the stent to control the lengthening of the anterior teeth.
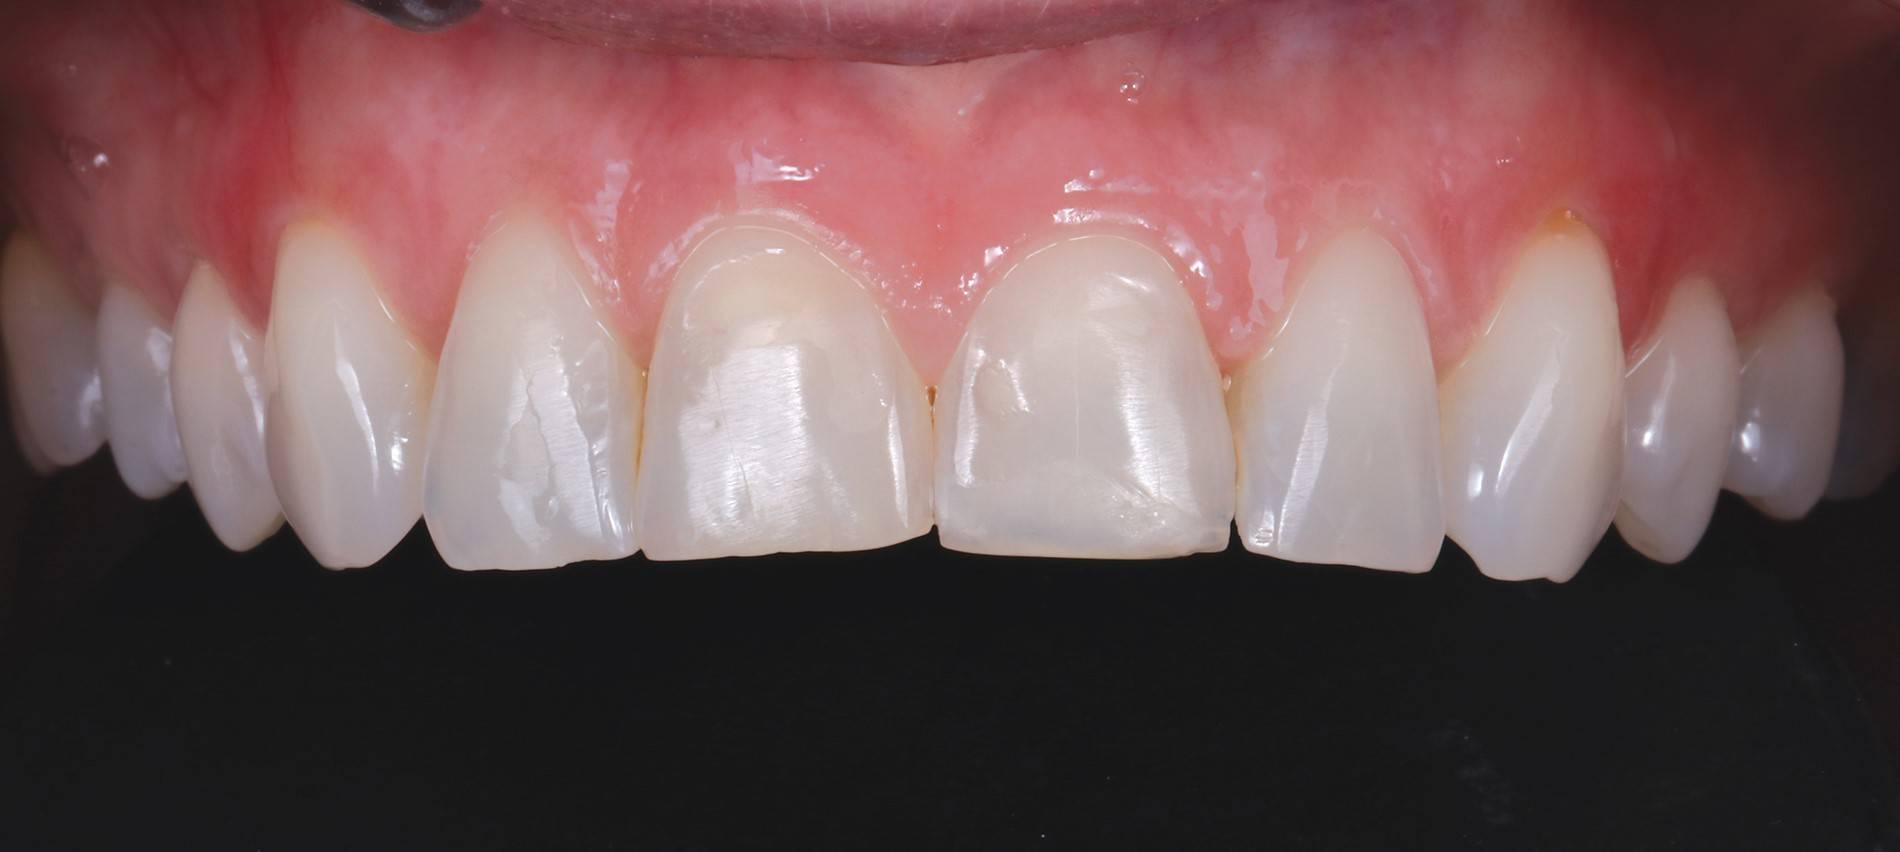
FIG. 4
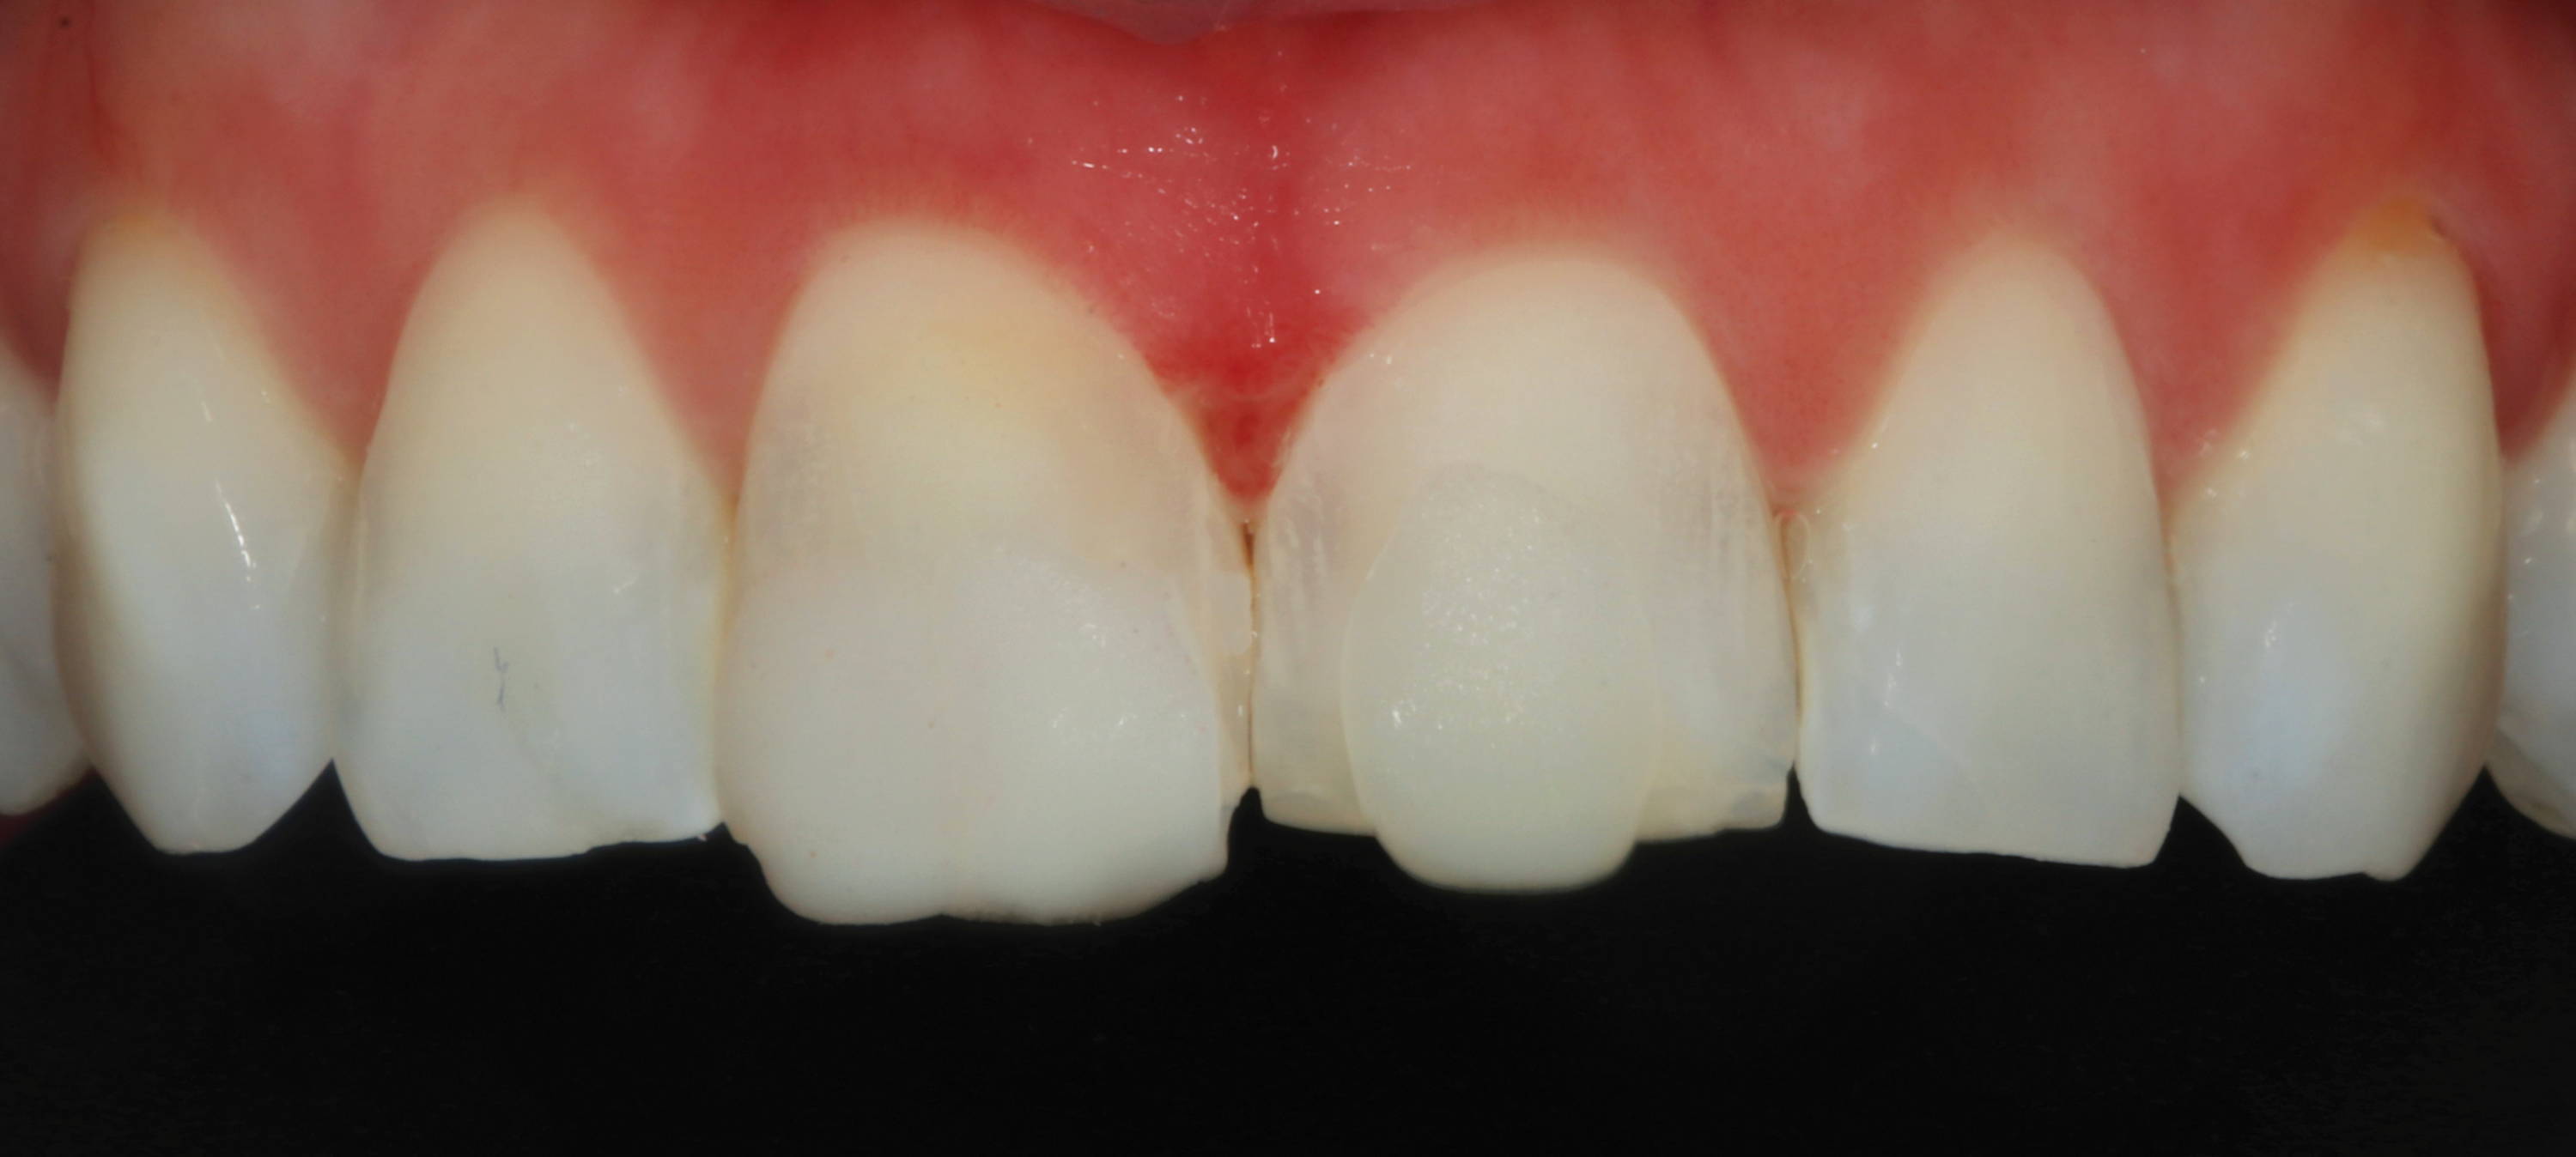
FIG. 5
Shade matching of the required composite is done using cross polarised filter. FIG. 5 shows A1 (Universal) on tooth 8 and BL3 (Universal) on tooth 9. BL3 was chosen as the best option and to use a single shade without layering as this composite has 85% opacity which gives ideal optical properties that mimic natural teeth.
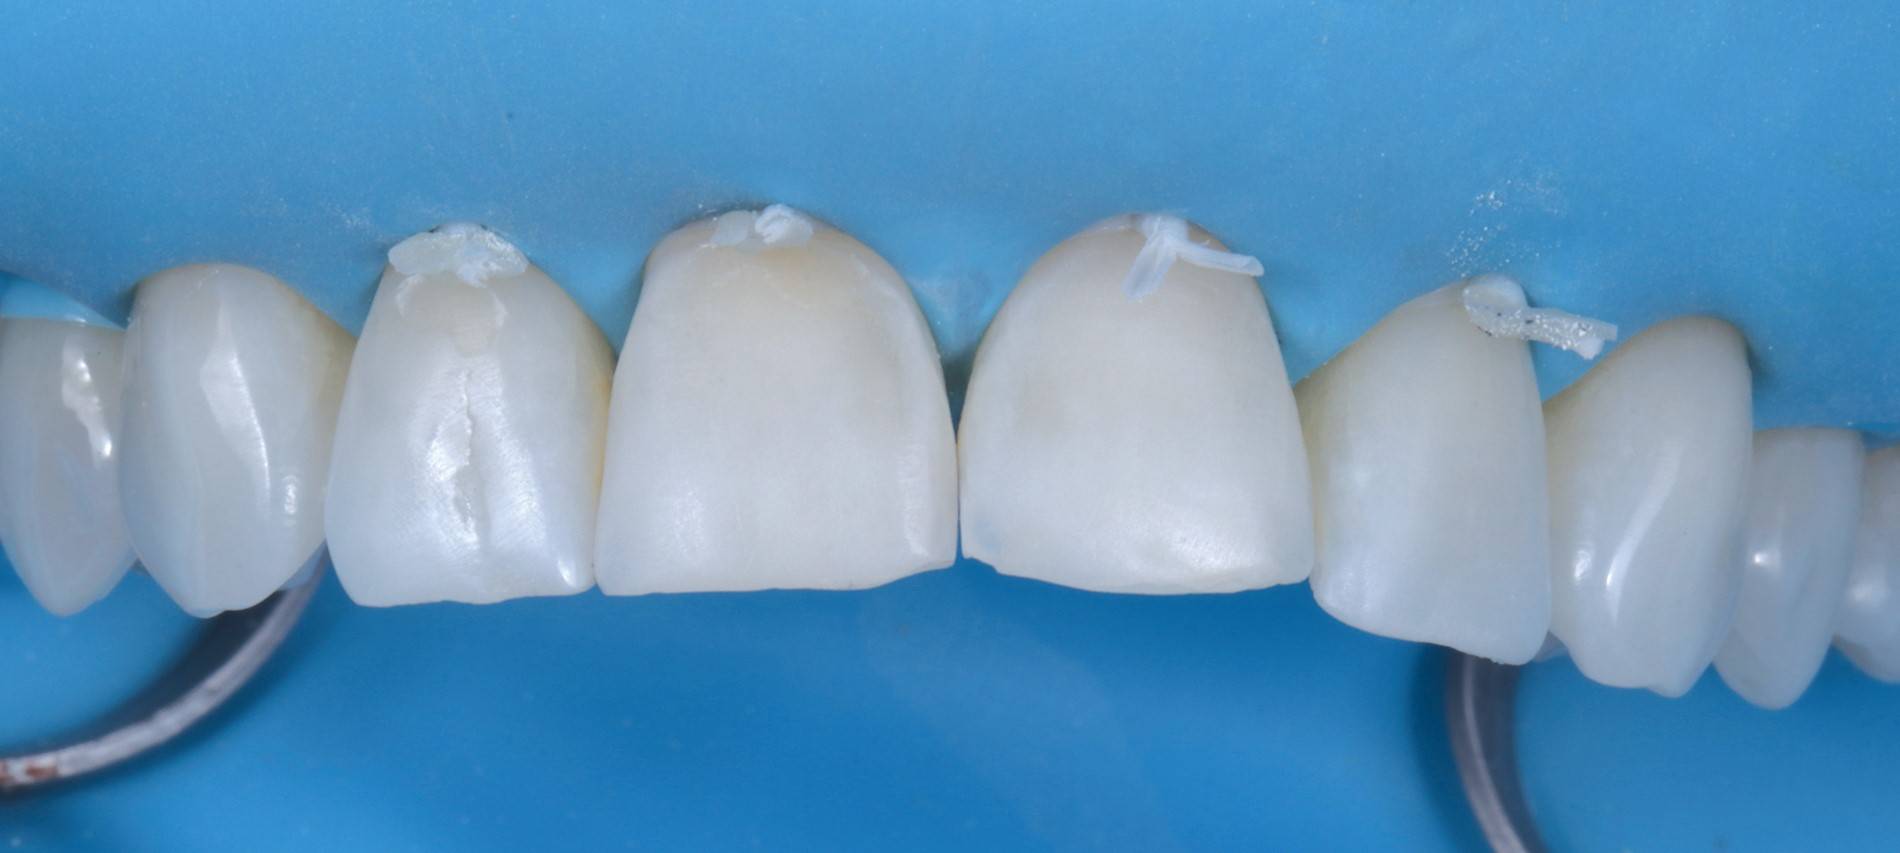
FIG. 6
The rubber dam was placed from 4 to 13, with floss ligatures tied on all incisors to ensure ideal exposure of teeth and, most importantly, ensure complete moisture control during bonding.
Surface preparation for composite veneers is conservative and involves removing all sharp edges followed by air-abrasion using the Aquacare with 29-micron Aluminum Oxide powder. (FIG. 6)
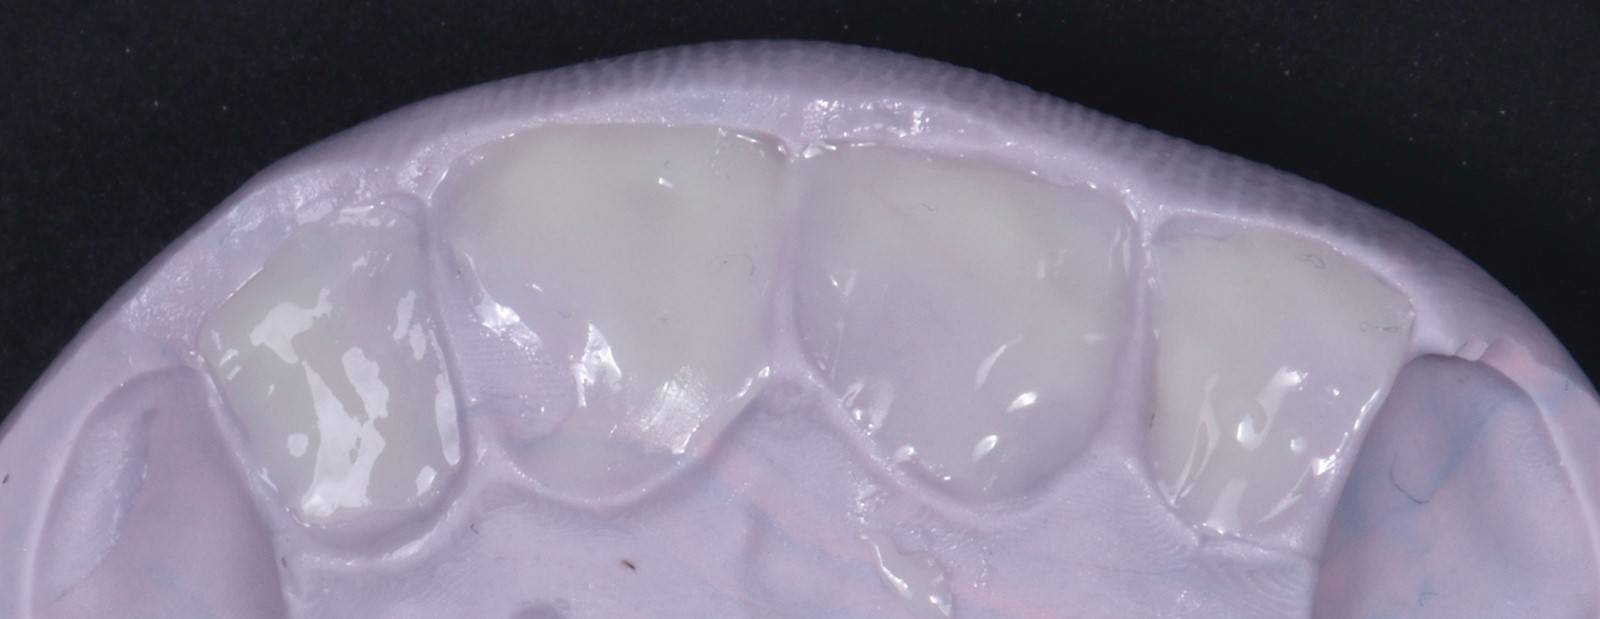
FIG. 7
As the substrate we were bonding to was almost entirely enamel, a total-etch, 35% phosphoric acid Max Etch (Clinician’s Choice) was used with 5th generation bonding agent, MPa Max (Clinicians Choice). This process ensures reduced post-op sensitivity while maintaining high bond strength over time.
The silicone index is then used to build the palatal shell. This also controls the ideal incisal length and shape (FIG. 7).
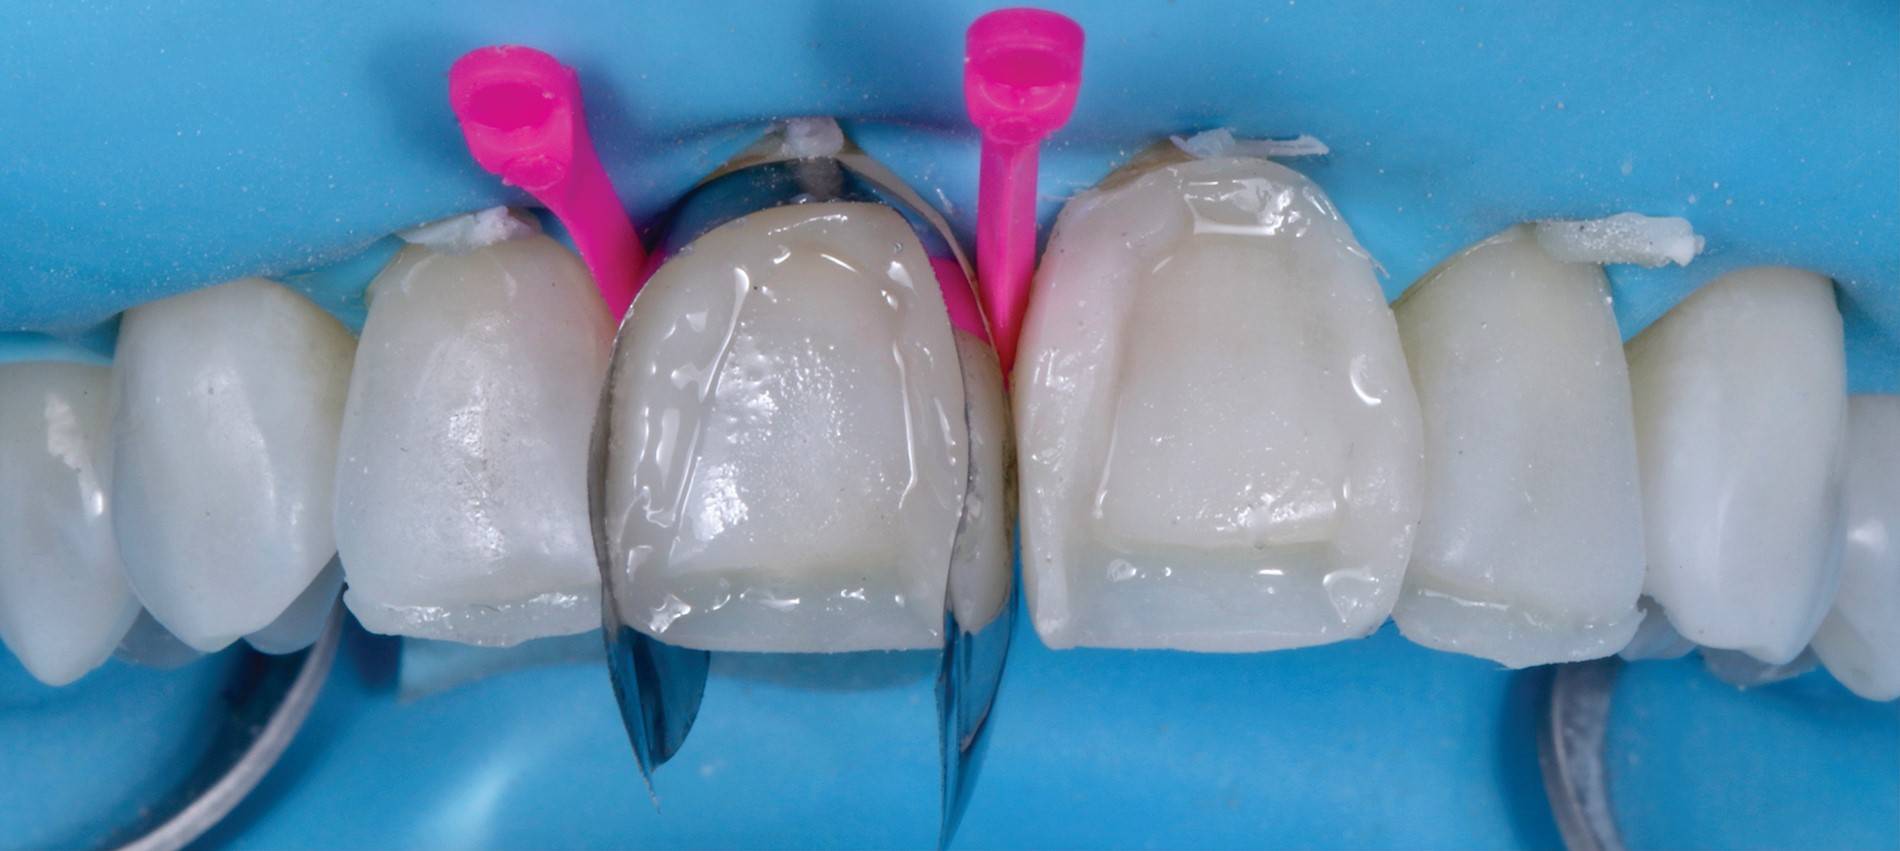
FIG. 8
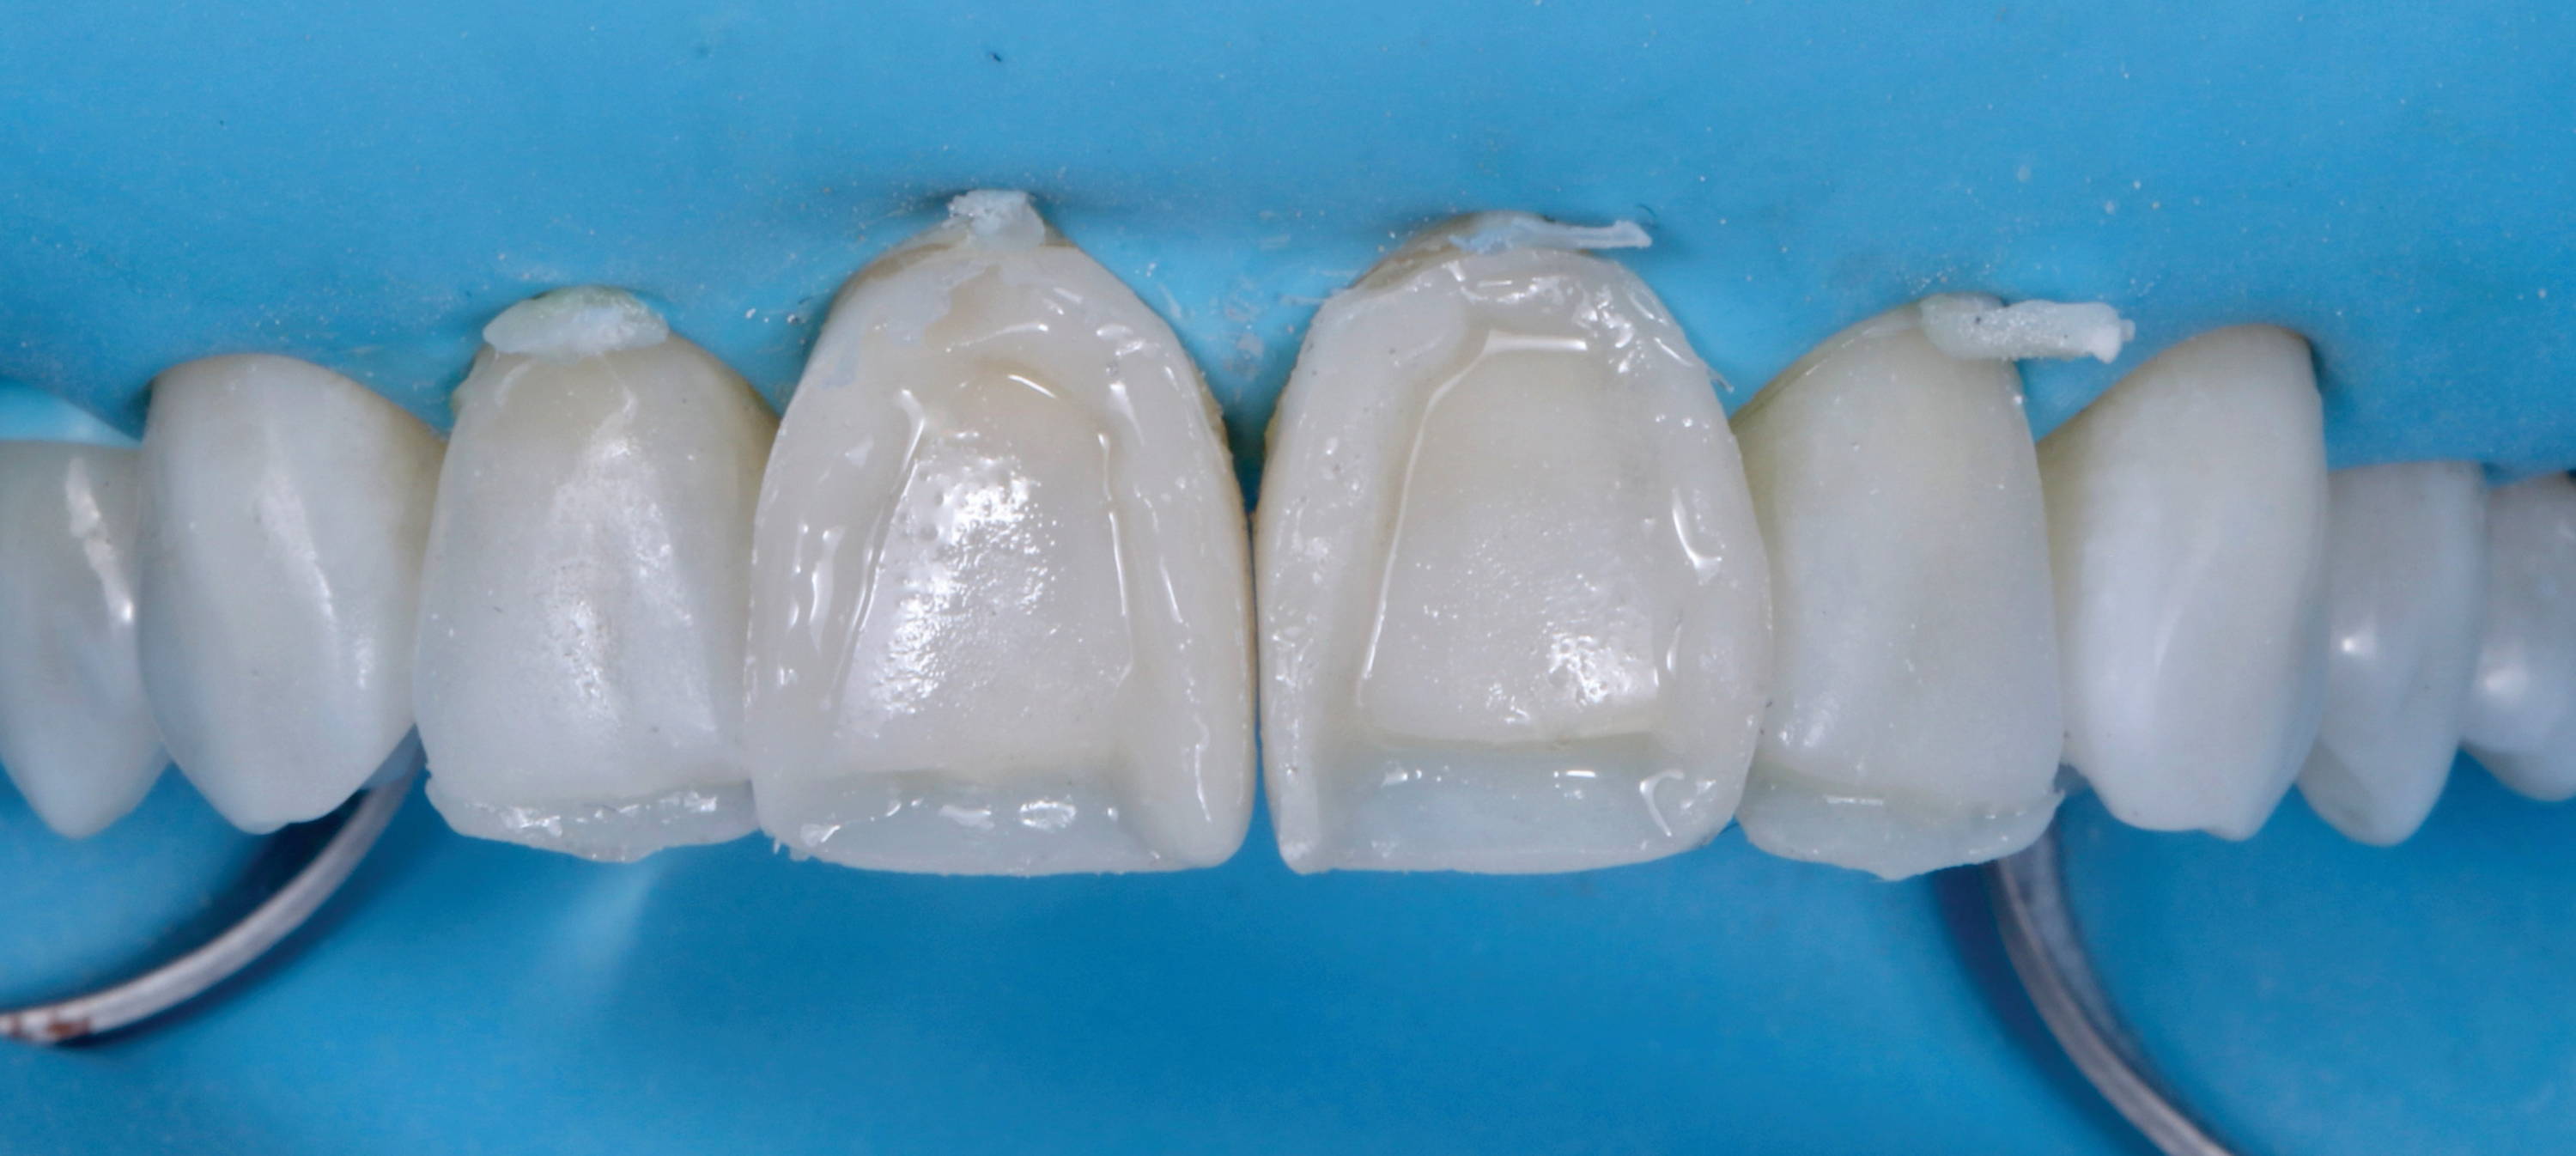
FIG. 9
The challenge with direct veneers is to create ideal emergence profiles in the cervical and interproximal areas. With the help of the new Unica anterior matrix from Polydentia, it is now possible to build this in a single step as to create creating more natural tooth shapes thereby reducing the finishing time of the restorations. (FIG. 8) With the palatal, incisal, cervical, and interproximal areas established (FIG. 9), it becomes simple to finalize the buccal surface. Here we use a pencil to outline the macro anatomy and transition lines. (FIG. 10, 11) Using a course flame-shaped diamond with a red ring, handpiece with an electric motor, along with the ideal shaped Contours Course Anatomy Trimmers (Clinician’s Choice), natural anatomy was achieved. A 12a scalpel blade was also used in interproximal areas that are difficult to access. The interproximal surfaces were refined with the Contours Finishing & Polishing Discs (Clinician’s Choice), using the medium and fine grits as required.
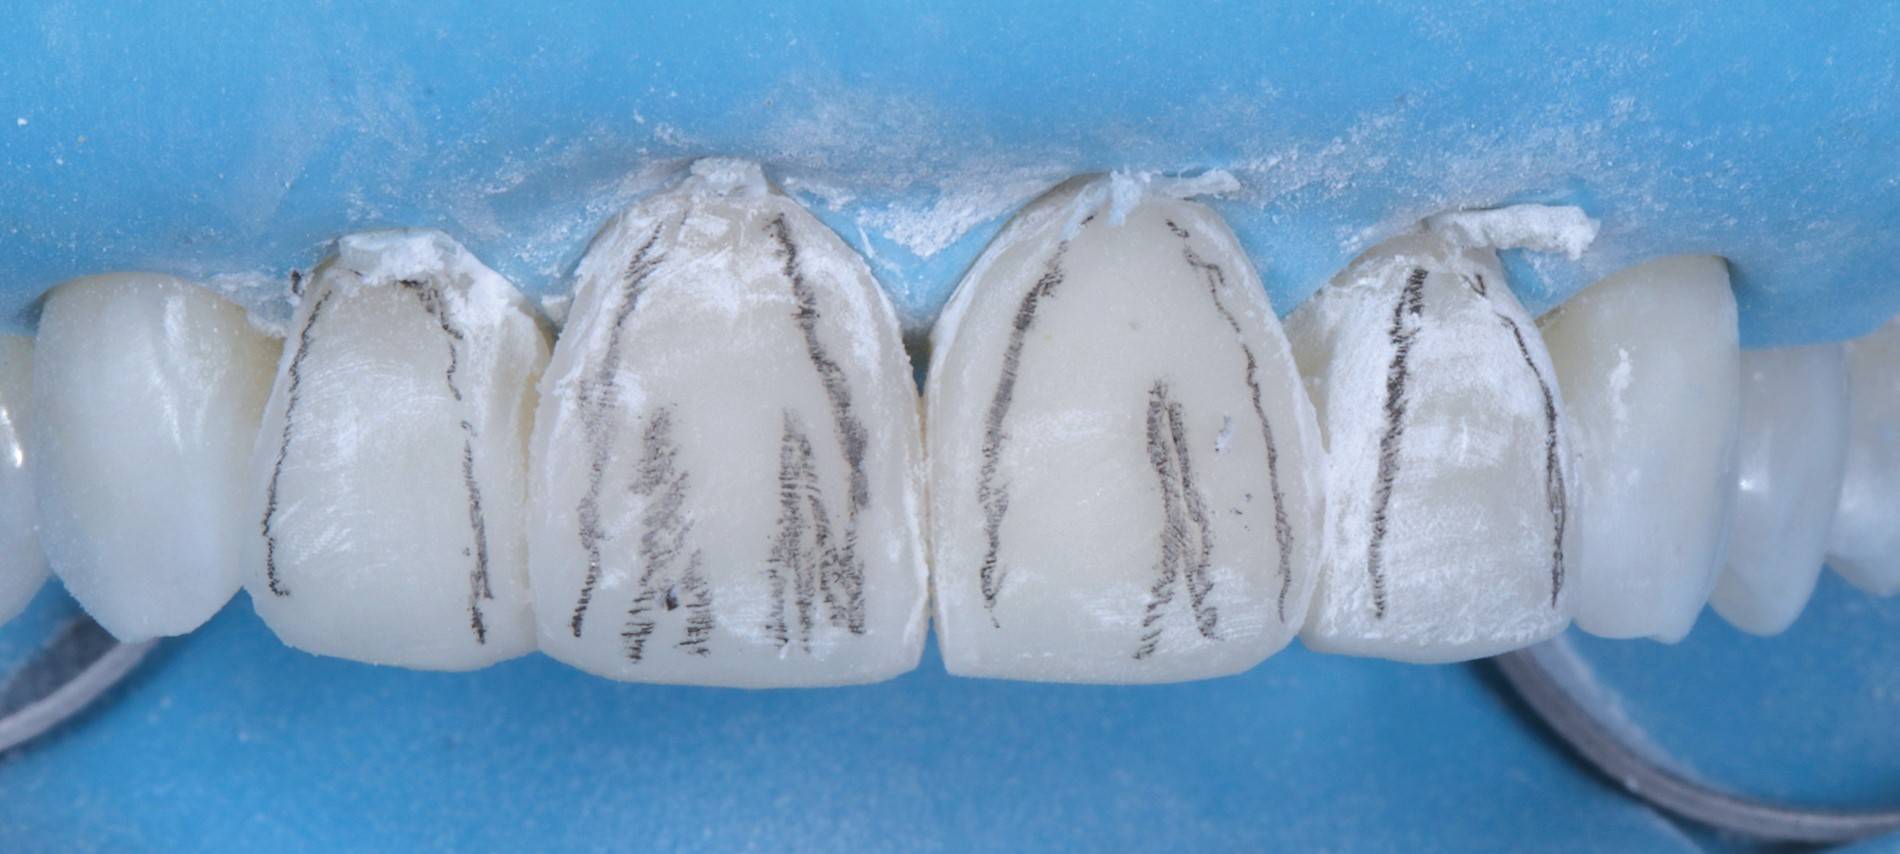
FIG. 10
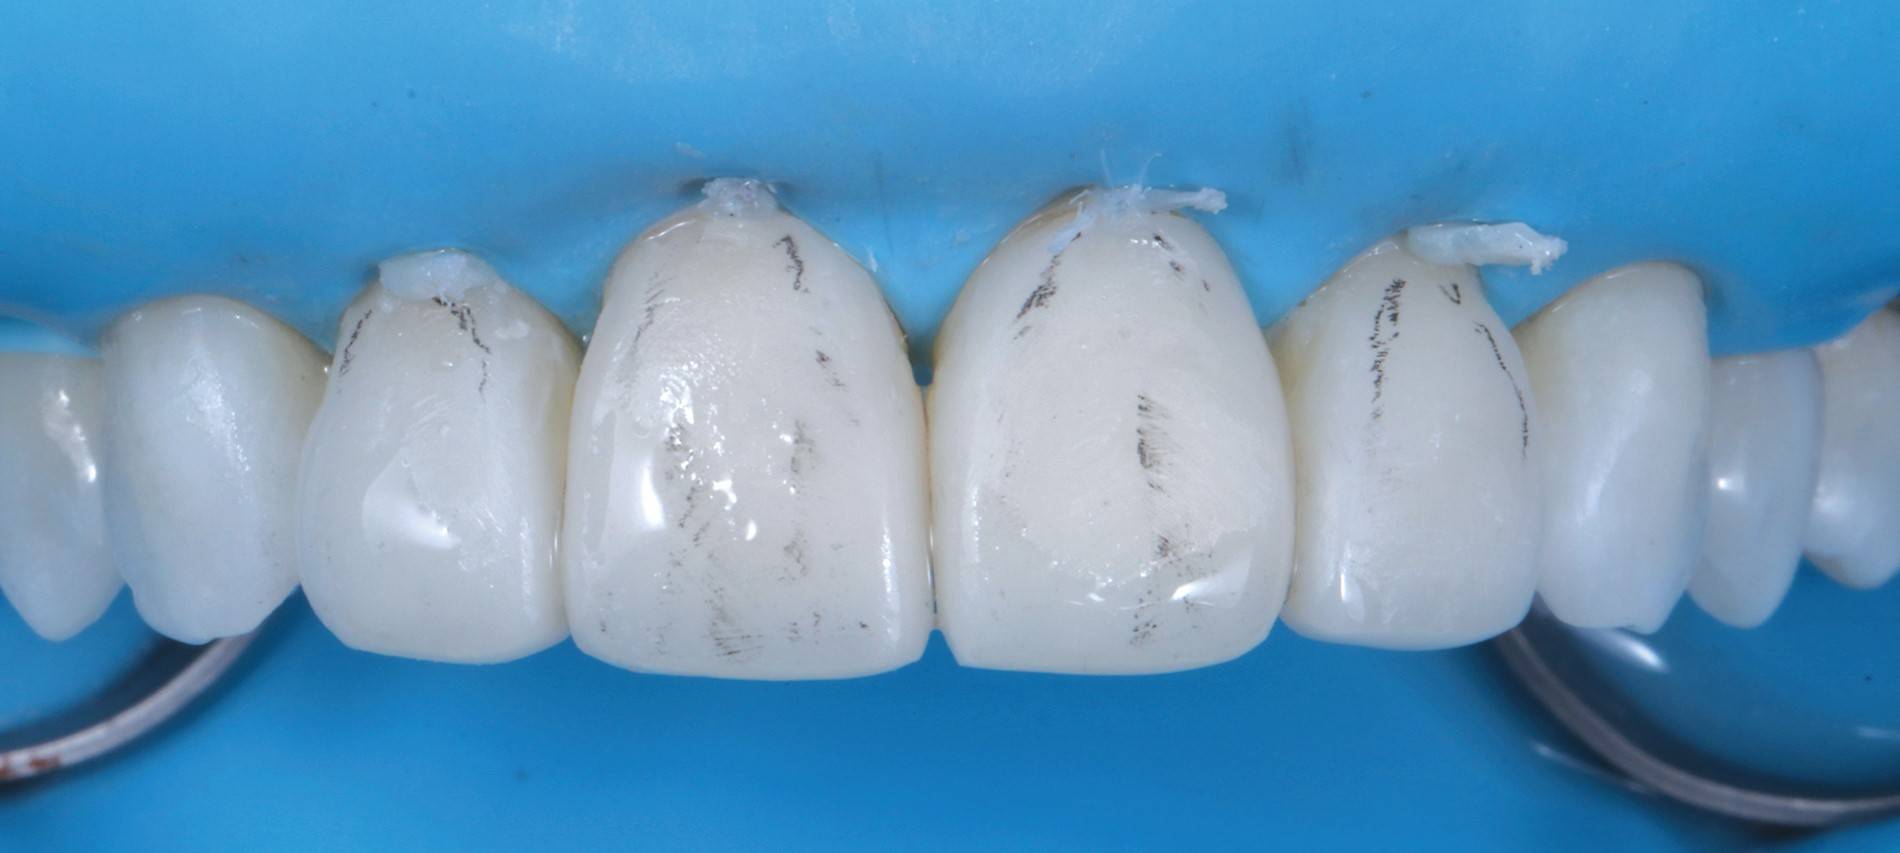
FIG. 11
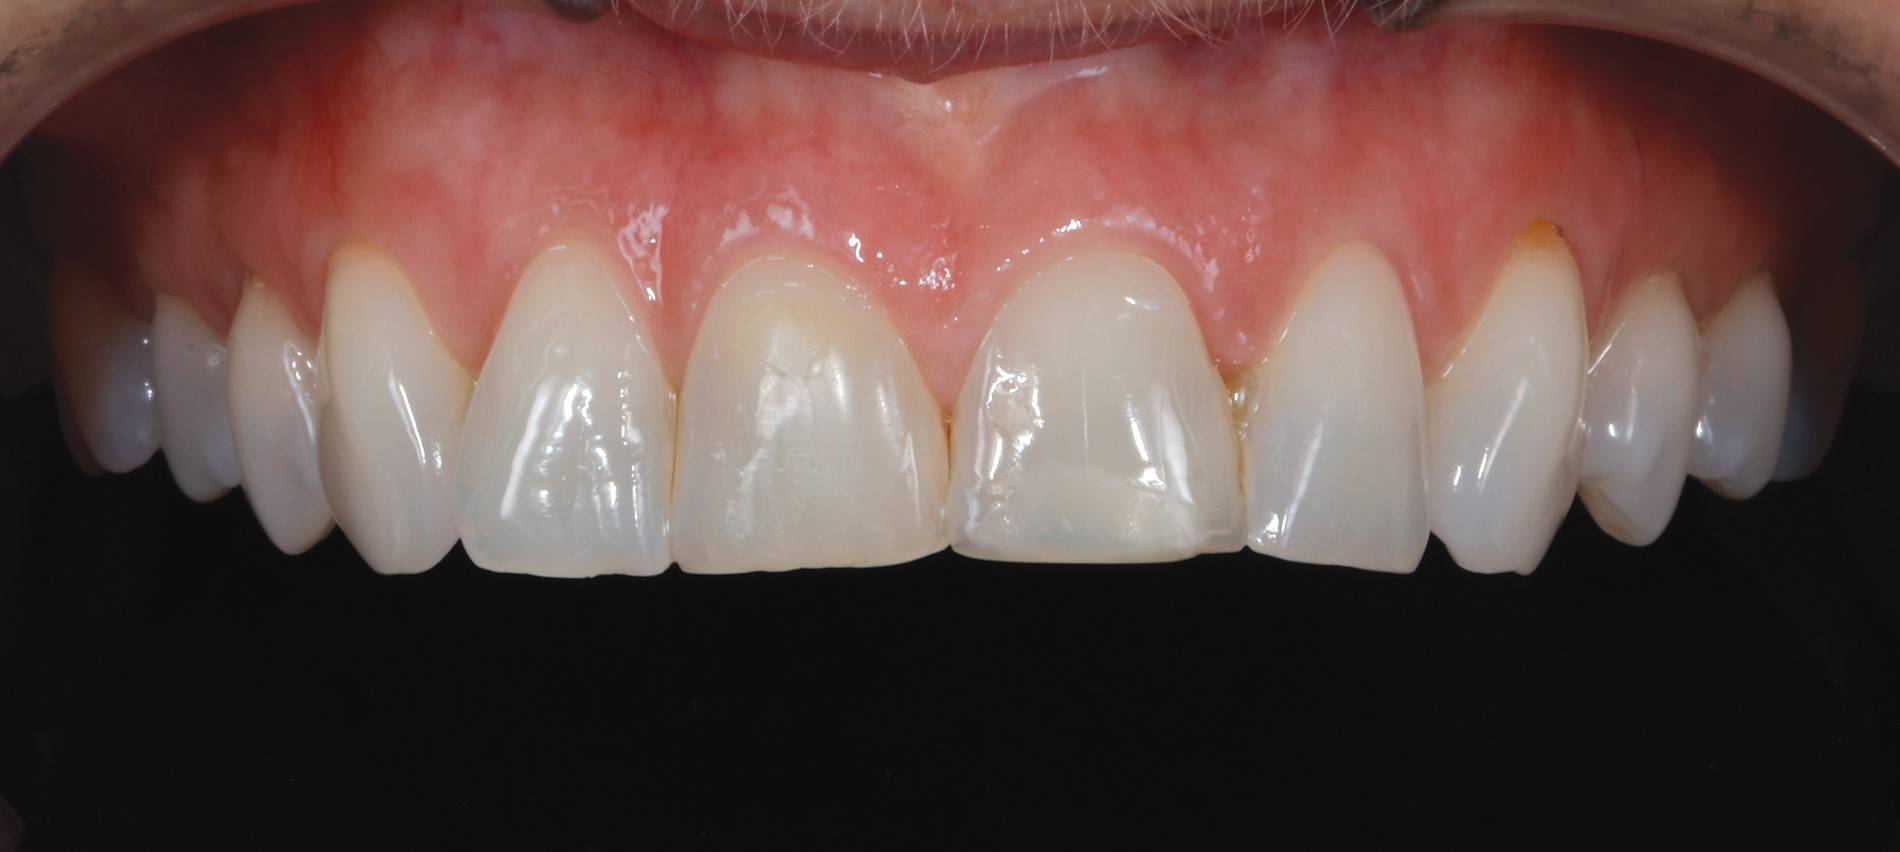
FIG. 12
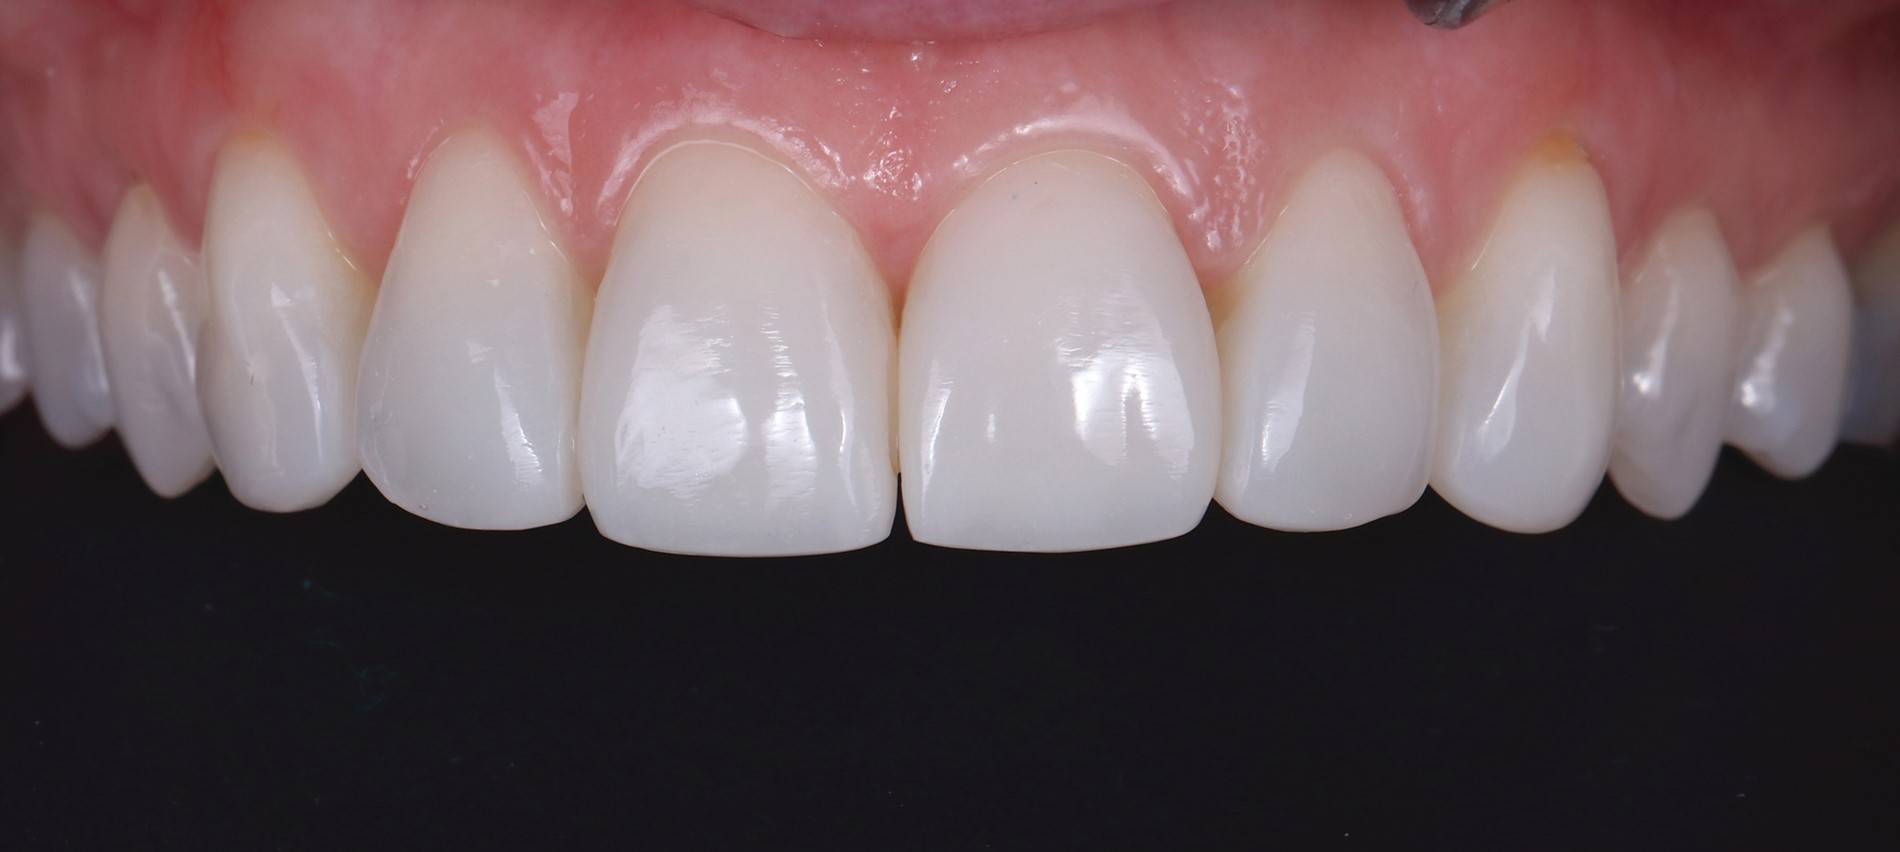
FIG. 13
The rubber dam was removed, and the final polishing was done quickly with the two step A.S.A.P. All Surface Access Polishers (Clinician’s Choice). The purple Pre-polisher should be used lightly at 8-10,000 rpm to smooth the surface but not remove macro anatomy. Next the peach Final High Shine Polisher was used in a similar fashion to create the desired high luster. (FIG. 12 Before & After)
The natural optical properties of the Evanesce single shade allowed for a perfect result. The move away from complex layering technique allowed me to focus on the critical issues of shape and texture. Using a facially driven, digital approach has also allowed a predictable result that integrates the dentistry in harmony with the patients face. Facially driven dentistry!
The patient returned two weeks later after the teeth have rehydrated for final polishing and fitting of night guard. The guard will protect the composite veneers from nocturnal bruxism and act as a retainer preventing relapse after the orthodontic treatment.
Evanesce Universal can certainly challenge porcelain aesthetically, but more importantly it allows dentistry to be more conservative and has the added benefit in that it can be easily repaired.
Before
After
About the Author

Mark Bowes, BDS Rand
Dr. Bowes is the owner and clinical director of Enamel Restorative and Cosmetic Dentistry, a private practice in Cape Town, South Africa. His practice is limited to Aesthetic and Complex Restorative Dentistry. He has been a Fellow of the International Congress of Oral Implantologists, and is a speaker for ITI. In 2010 he founded the South African Academy of Aesthetic Dentistry for which he is now past President.
Discover More
This article was originally published in the Clinical Life™ magazine: Spring 2022 edition
Clinical Life™ magazine is a premier periodical publication by Clinical Research Dental Supplies & Services Inc. Discover compelling clinical cases from Canadian and US dental professionals, cutting-edge techniques, product insights, and continuing education events.